
A free overview of 25 Validation Experiment Recipes from WRKSHP.tools.
Validation Canvas
Introduction
With your experiments in place, it’s time to start testing them and tracking the progress over time. Sometimes your tests will return positive, sometimes negative. Along the way you’ll iterate – adding and changing as you go. This tool, developed by Ash Maurya, will help track your progress over time.
Overview
| Time | ± 45 minutes |
| Difficulty | 3 / 5 |
| People | 3 - 5 |
| Author | Original by Ash Maurya |
| Copyright |
How To Use the Validation Canvas
Running one experiment is almost never enough to know you’re right. Some startups make many pivots before they find the right product-market fit. In every case, it’s absolutely essential that you know where you’ve been before moving on. It would be a waste of time and resources to continue to run the same exact experiment over and over again, waiting for the results to magically change. Looking back will help you understand the choices you have already made and avoid the resurfacing of invalidated assumptions later in the process.
The goal of the validation process is to learn as much as possible, as fast as possible. You’ll want to spend as little time and effort as you can in this process, while we maximize the outcome. With that in mind you’ll need to run experiments iteratively. The validation board is the central nervous system of this process.
It starts with the Value Proposition you have at this moment. This is your current “best guess” with respect to who your customer is, what problem you solve for them, and what your solution is for that problem. No need to make this overly complicated. Start small, with the simplest solution you can test. Over time, pivots will change that best guess.
Your current best guess is based on assumptions. Find the riskiest one: the one that, if it’s wrong, completely disproves your best guess. Choose a way to test that assumption and define what the minimum criteria for success are. Plug this stuff into the experiment report and run the experiment.
When it comes to experimentation methods you can choose from things like exploration, pitching, or even a concierge model. Through exploration, you’ll learn more about the problem you’re trying to solve for.
Pitching will help you understand how important your customer thinks the problem is. Is it a must have or a nice to have? A concierge model will help you understand whether you can deliver on the customer’s expectation at first, doing it by hand.
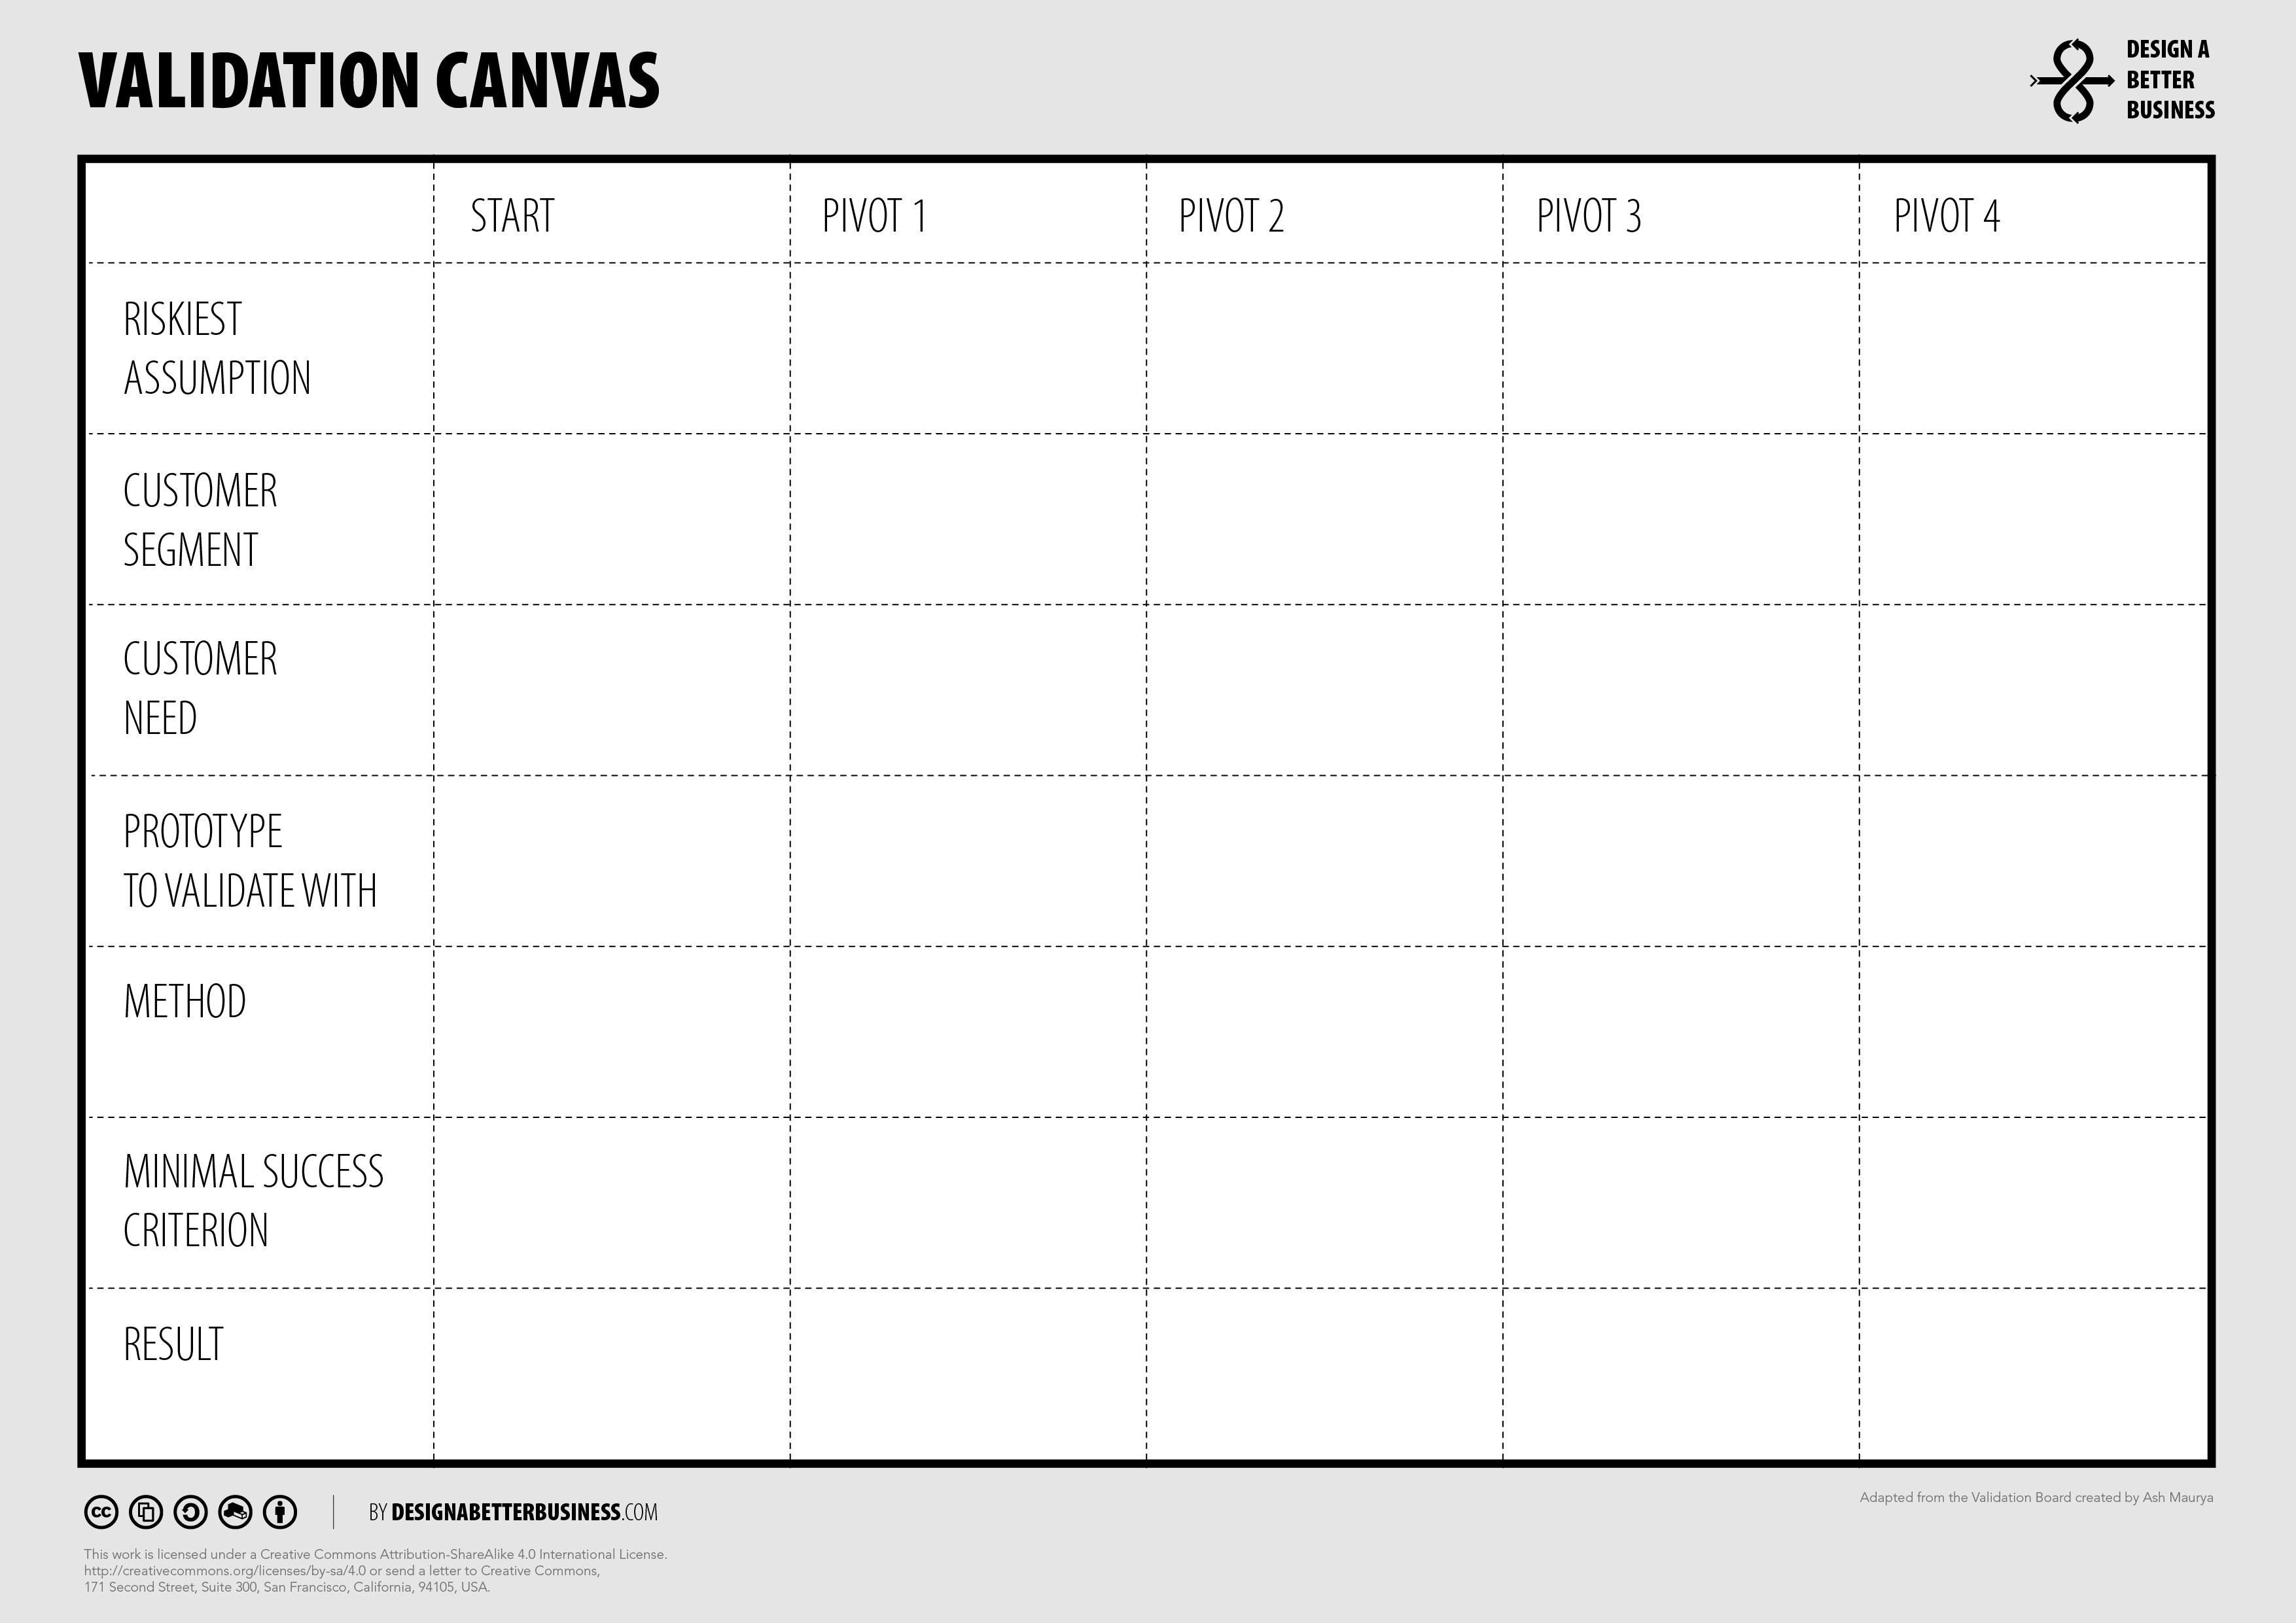
Tool Overview
1
2
3
4
Riskiest Assumption What is your current Riskiest Assumption to test with an experiment?
Customer Define your Value Proposition. Split it in parts: your customer, the customer need you are solving for that customer, and the solution you assume solves that problem.
Validate Describe the method you want to test with. What kind of experiment is it? What are the minimal criteria for success?
Results Keep track if your experiment validated or invalidated the assumption and what your findings were. Did you pivot? Or persevere? Over time, you can see what your progress has been.
Step-by-step guide
1 Before you start
Arrange for a comfortable environment. Definitely not a meeting room.
Checklist
- Arrange a relaxed, positive and private environment
- Have markers (fine tip) and paper for everybody
- Print or draw the canvas on a big sheet of paper
- Have plenty of sticky notes and markers ready
- Allow yourself 15 minutes of undisturbed time
2 Record the outcome of the last Experiment
Go over your last Experiment Canvas and record the outcome. Go over your progress so far.
3 Define the direction of your next experiment
With your team, define the direction to take based on the outcomes so far.
4 Next Steps
Keep coming back to your validation canvas to track new experiments
Checklist
- Check your progress with the Investment Readiness Level
- Revisit your Design Criteria. Do they still make sense?
You may also like

This book stitches together a complete design journey from beginning to end in a way that you’ve likely never seen before.
")
All 20+ canvases from the book Design A Better Business, as print ready PDFs on A4 size (29.7x21 cm, 11.7x8.3 in), for free!

Design A Better Business Newsletter
Sign up for the Design A Better Business Newsletter and keep up to date with events and news!